In this post, we will walk through the step-by-step process for adding and configuring Hyper-V on Windows Server 2016.
Video AND Written Step-By-Step Instructions…
Video
Step-By-Step…
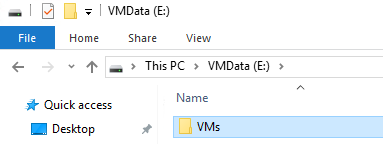
- Preparation-Add Data Drive, Create Default VM destination Folder
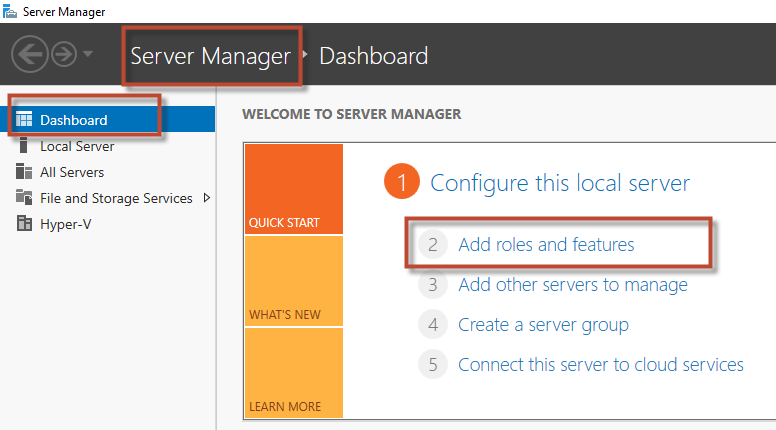
- Add Roles and Features
- Before You Begin
Just Click Next on Before You Begin page of the wizard
- Installation Type
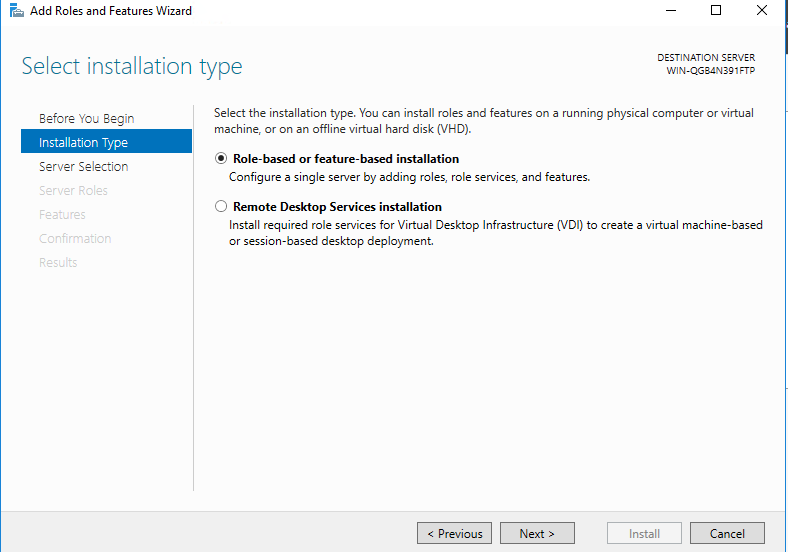 For Installation Type, keep the default “Role-based or feature-based installation and click Next
 - Server Selection
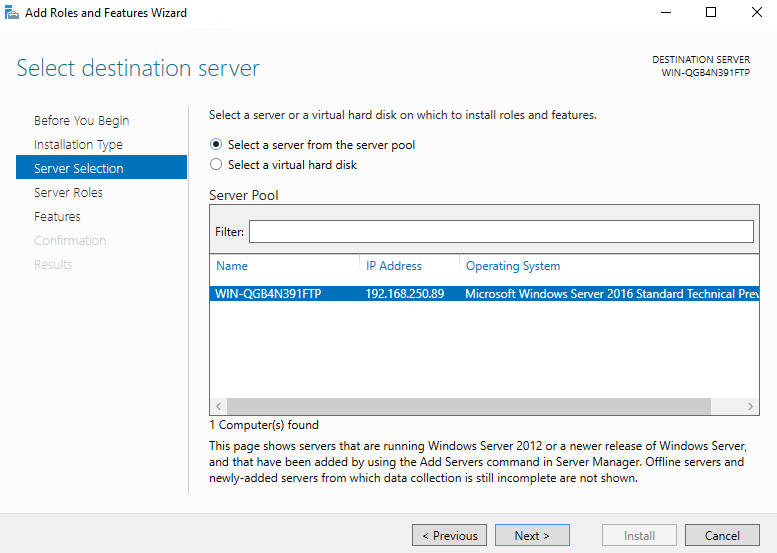 Select destination server, keep the defaults and select Next
 - Server Roles & Features
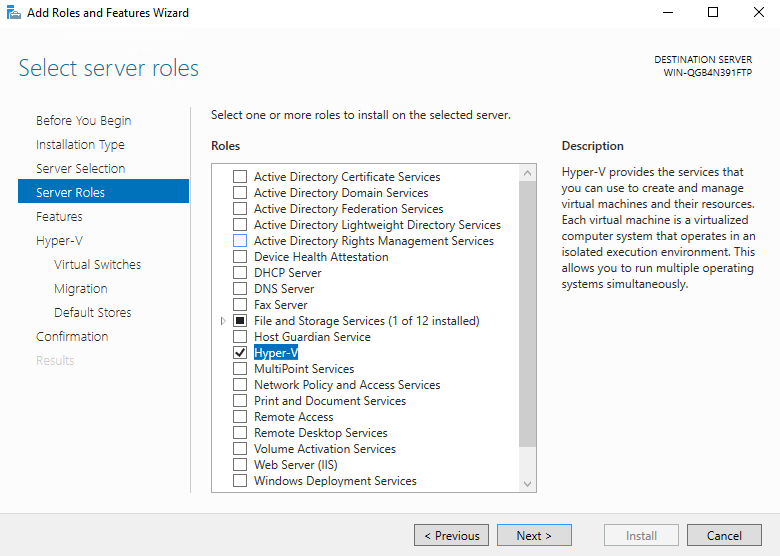
 Select the Hyper-V role, this will popup a box “Add features that are required for Hyper-V? Make sure include management tools is turned on and select Add Features
Click Next on Select server roles page.
Then on the Features page, just click Next as we do not need any additional features. - Hyper-V

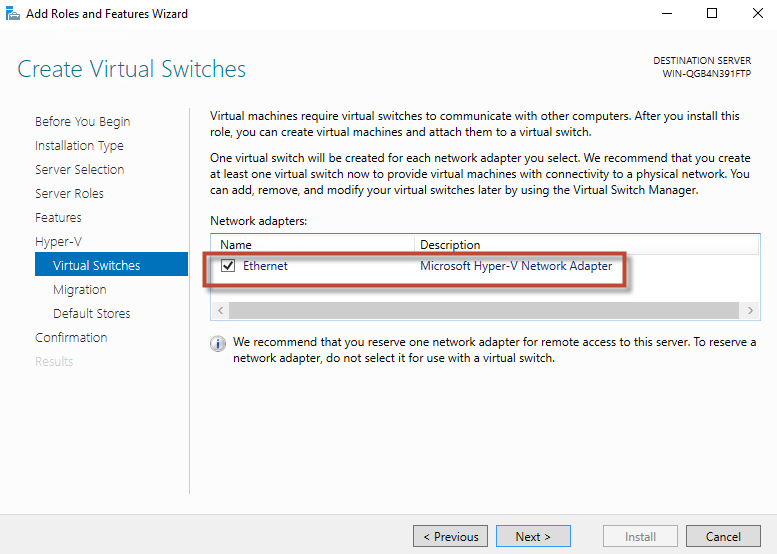
Make sure you turn on network switch
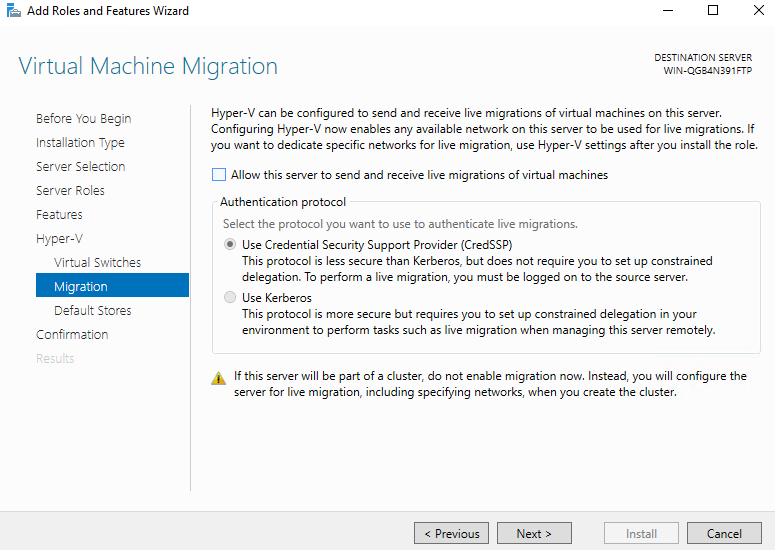 Not setting up for live migrations now
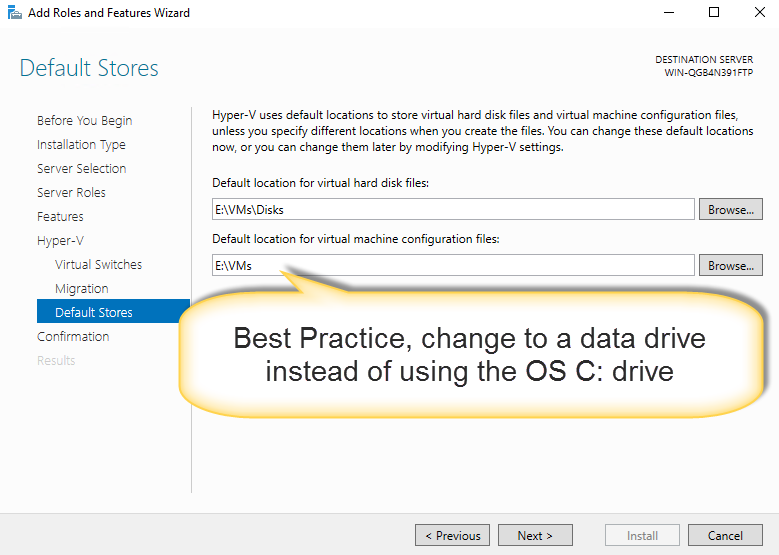 On the Hyper-V page, just click Next
on the Hyper-V Virtual Switches page, make sure you turn on the checkbox to create a switch. Then click Next
Just click Next on the Migration page.
on the Hyper-V Default Stores page, I recommend you change the path to something on a data drive instead of the OS drive.- Confirmation
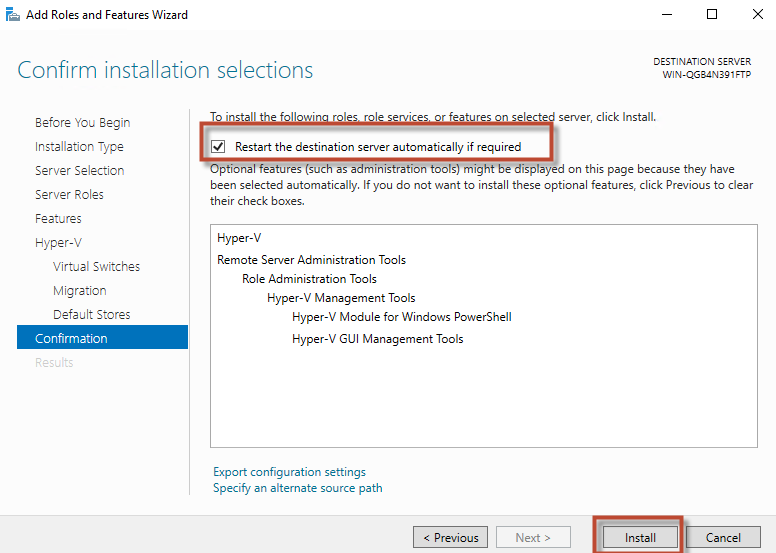 Make sure you turn on teh “restart teh destination server automatically checkbox. Then click Install.
After Hyper-V is installed the server will reboot automatically.- After Reboot…
 After reboot, Login. Stand by while Server Manager loads (it will launch automatically) then the hyper-V installation will automatically continue. Once finished
- Hyper-V is installed
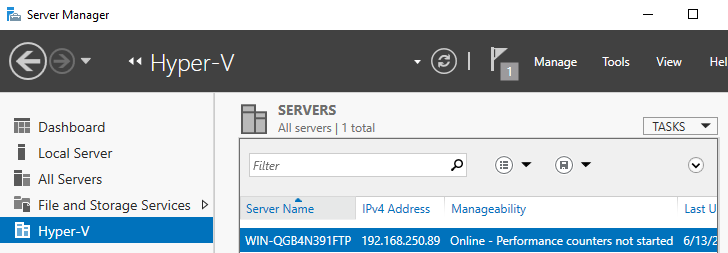 You will notice in server manager Hype-V is now on the Nav Bar.
- Launch Hyper-V Manager
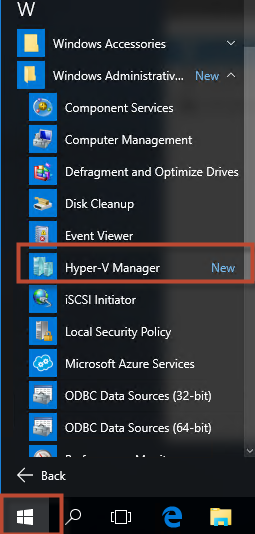
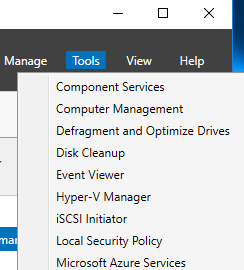 You can now launch Hyper-V manager from Start-Administrative Tools – Hyper-V Manager OR Start – All Programs – Windows Adminstrative Tools – Hyper-V Manager, OR in Server Manager Select Tools Hyper-V Manager
In the video we also cover …
To Enable Nested Virtualization…
PowerShellSet-VMProcessor -VMName “2016 Hyper-V Guest” -ExposeVirtualizationExtensions $true -Count 2
WARNING: Nested virtualization is an unsupported preview feature. Hypervisors other than the Hyper-V hypervisor ru
nning in a guest virtual machine are likely to fail. Furthermore, some Hyper-V features are incompatible with nest
ed virtualization, such as dynamic memory, checkpoints, and save/restore.
https://technet.microsoft.com/en-us/library/dn765471.aspx - Confirmation